How to Choose the Right Studio Monitors
⚡ Quick Answer
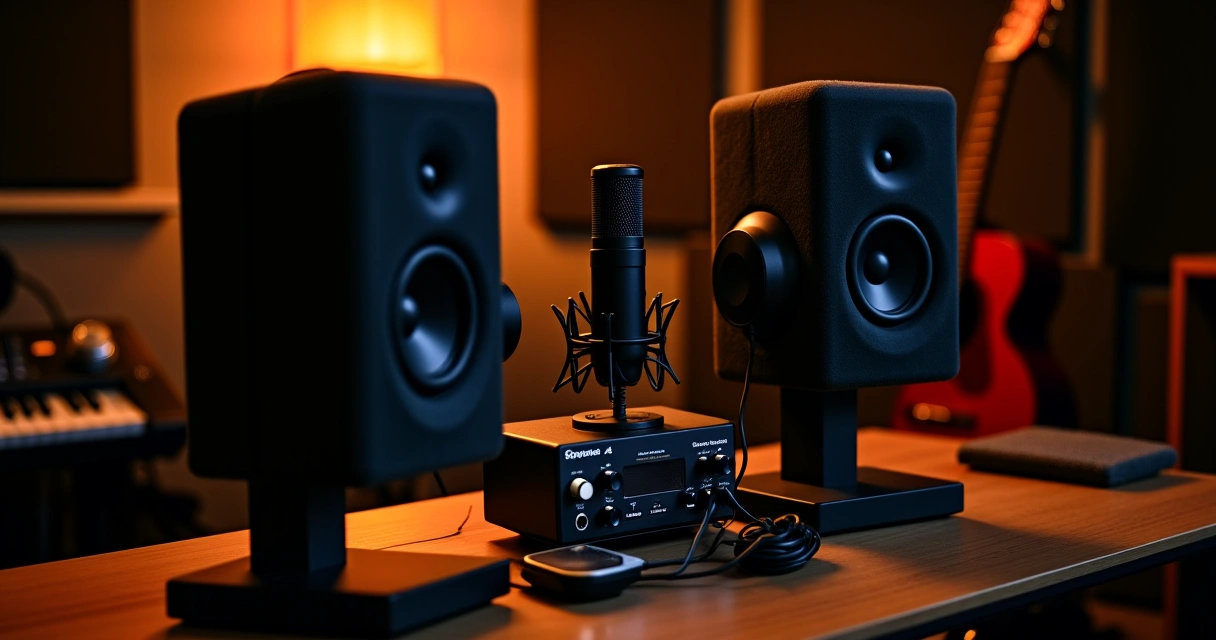
As musicians and engineers, we know that your studio monitors are the bridge between your creative vision and the final sound. They’re not just playback devices—they shape your perception of tone, impact how you interpret mix decisions, and ultimately influence your recordings and performances. Picking the right monitors isn’t just about specs; it’s about how they sound in your space, how they translate your tone, and how they hold up session after session.
Table of Contents
If you’re tired of mixing in colored or inaccurate monitors that lead you astray, or if you’re simply overwhelmed by the options, this guide is for you. I’ll walk you through what to look for, how to evaluate performance in your room, and how to make a choice that aligns with your workflow, budget, and musical style.
Our Top Picks in Detail
Affiliate disclosure: if you buy through these links, we may earn a commission at no extra cost to you.
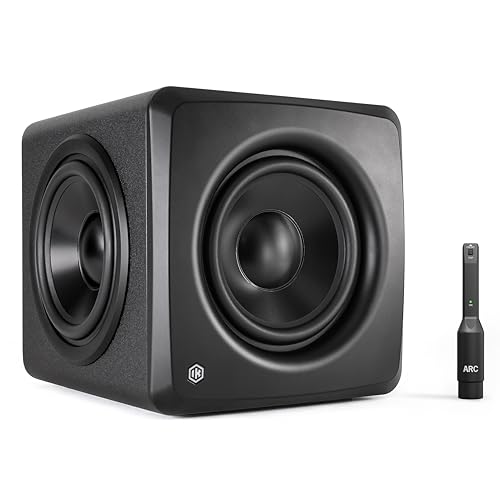
IK Multimedia iLoud Sub - Compact 25Hz Studio Subwoofer with ARC X Automatic Calibration, 6.5" Driver, Dual Passive Radiators, USB/Bluetooth, Perfect for Small Studios & Any Monitor Setup
$599.99Check Price →This is the pick to look at first if you want a reliable, well-rounded option that handles everyday use without unnecessary compromises. IK Multimedia iLoud Sub - Compact 25Hz Studio Subwoofer with ARC X Automatic Calibration, 6.5" Driver, Dual Passive Radiators, USB/Bluetooth, Perfect for Small Studios & Any Monitor Setup delivers solid performance across the features that matter most in this category.

Scarlett Solo 4th Gen Home Recording Studio Bundle with PreSonus Eris E3.5 Monitors Condenser Microphone Isolation Shield Headphones Stands Cables and Music Production Software
$479.99Check Price →If the top pick doesn't quite fit your situation, Scarlett Solo 4th Gen Home Recording Studio Bundle with PreSonus Eris E3.5 Monitors Condenser Microphone Isolation Shield Headphones Stands Cables and Music Production Software is worth a close look as a capable alternative that still covers the essentials well.
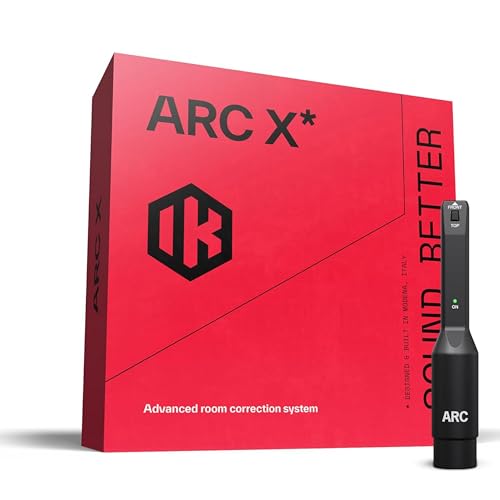
IK Multimedia ARC X Room Correction, Monitor Calibration & Speaker Emulation – Studio Acoustic Measurement Mic, Virtual Monitoring & Low-Latency Plug-in Included
$99.99Check Price →For buyers who want the most for their money without sacrificing the features that actually matter, IK Multimedia ARC X Room Correction, Monitor Calibration & Speaker Emulation – Studio Acoustic Measurement Mic, Virtual Monitoring & Low-Latency Plug-in Included is the practical choice at this price point.
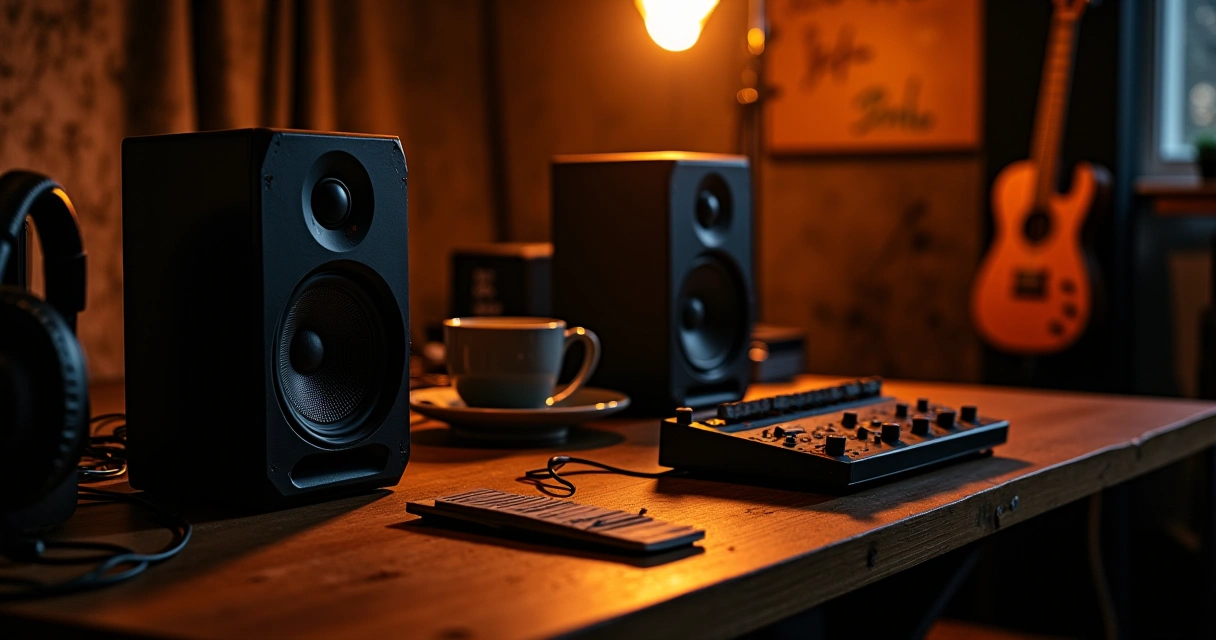
Understanding Your Studio Environment
Before diving into monitors' specs, take stock of your room. Smaller spaces—say, a bedroom studio—will struggle with larger, full-range monitors because low frequencies will boom and muddle the clarity. Conversely, bigger rooms can handle larger monitors but also introduce room modes that color the sound. Understanding your space is crucial because monitors are only as good as their placement and your acoustic environment allow.
Address any room anomalies like standing waves or flutter echoes. Use bass traps, acoustic panels, and careful positioning to create a neutral foundation. Remember, even the most transparent monitor won’t sound right if your room smears the sound. If your space is less than ideal, consider near-field monitors designed for smaller environments—they minimize room influence and allow you to focus on your tone.
Frequency Response & Accuracy
True studio monitors should aim to reproduce sound as flat and uncolored as possible—they’re your honest, unfiltered audio partner. When testing monitors, focus on how they reveal subtle details: the nuance in a guitar pedal’s overdrive, the articulation of a bass note, or the attack of a snare. If your monitors shape the sound too heavily with boosted highs or scooped mids, they’ll mislead you, and your mixes will end up sounding off on other systems.
Size and Power
The size of your monitors influences their frequency extension and overall punch. Smaller monitors (5-6 inches) are better suited for near-field listening in tight spaces—they’ll deliver tight bass and clearer mids without overwhelming the room. Larger monitors (8 inches or more) can move more air and generally provide richer bass response, which benefits tracking and mixing bass-heavy genres but can be harder to position properly.
Power is also a consideration—ample headroom prevents distortion at high volumes and allows your monitors to respond accurately during loud sessions. Match the wattage to your room size and listening volume: too little power, and your monitors sound compressed or strained; too much, and you risk damaging them or causing fatigue.
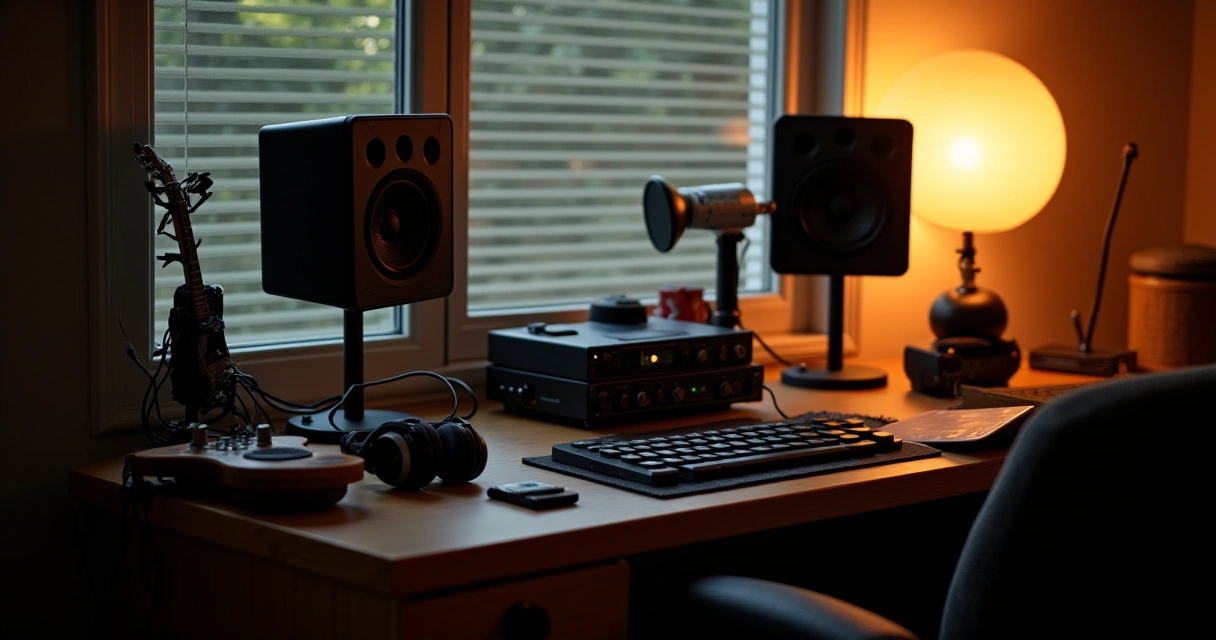
Room Acoustics & Placement
Perfect monitors won’t perform well if placed poorly. Position your monitors so they form an equilateral triangle with your listening position, at ear level, with tweeters aimed directly at your ears. Keep them out of corners and away from reflective surfaces that can create comb-filtering and diffractions that color the sound. Use isolation pads or stands—rumble and vibration transfer can muddy your perception of clarity.
Additionally, incorporate acoustic treatment to tame low and high-frequency reflections. A well-treated room ensures the monitors reveal the true tone of your guitar, synth, or vocals, rather than just projecting room resonances.
Budget & Brand Considerations
Premium monitors aren’t always necessary—some of the most transparent and reliable workhorses come at modest price points. Brands like Yamaha HS series, Adam Audio A series, or JBL 3 series strike a good balance of accuracy, build quality, and value. However, don’t skimp on your monitors if possible; good speakers pay dividends in your mixes and performances.
Consider your workflow: if you’re combining guitar pedals, MIDI controllers, and mixing, consistency is key. Use the same monitors for recording your electric or acoustic guitars and for mixing. Sometimes, a slightly more neutral monitor setup is better even if it costs a bit more—your ears will thank you when it’s time to craft a professional sound.
Final Tips for Listening & Evaluation
The real test of monitors is how they sound in your hands over hours of practice, tracking, editing, and mixing. Trust your ears; don’t be seduced by flashy specs or the hype. Bring in your go-to reference tracks, listen for clarity, balance, and translation—how it sounds on your phone, in your car, or on cheap earbuds.
Take your time. Set up your monitors properly, calibrate them if possible, and spend hours really listening. A good pair of studio monitors will become an extension of your ears—helping you craft your tone with confidence and honesty.
Frequently Asked Questions
Can I use regular hi-fi speakers as studio monitors?
While hi-fi speakers can sound nice for casual listening, they often color the sound and are not built for the flat response needed for accurate mixing. Studio monitors aim for transparency, so your mixes sound correct everywhere.
How important is room treatment when using monitors?
Extremely important. Even the best monitors can’t perform optimally if your room has nasty resonances or reflections. Proper placement and acoustic treatment are critical for accurate monitoring.
Should I buy active (powered) or passive monitors?
Most studio monitors are active—built-in amplifiers simplify setup and ensure proper matching. Passive monitors require an external amp and more careful matching. For simplicity and reliability, active monitors are generally the way to go.
What size monitors are best for a small home studio?
Near-field monitors in the 5-6 inch range are ideal—they reduce room influence and allow for accurate monitoring in tight spaces.
How do I know if my monitors are accurate enough?
Compare them with reference tracks you know well. If your mixes translate poorly on other systems, the monitors may be coloring the sound. Look for neutrality, consistent imaging, and detailed response.
Conclusion
Choosing the right studio monitors is a critical step toward sounding professional and getting the most out of your gear—whether it’s your guitar pedal setup, MIDI controllers, or your mixing desk. Focus on your environment, listen critically, and invest in monitors that deliver honest, detailed sound. Your ears—and your mixes—will thank you for it.
Next step? Head to your local pro audio store, bring your favorite reference tracks, and audition a few pairs. Trust your ears, and select the monitors that truly reveal your tone without masking it. The perfect pair is out there—it just takes a little patience to find them.