Studio Monitors Buying Guide: What to Look For in 2026
🏆 Top Picks at a Glance
 #1
#1
Best Overall
(2) JBL 305P MkII 5" 2-Way Active Powered Studio Reference Monitors Speakers
$261.0
Check Price → #2
#2
Runner Up
PreSonus Eris E4.5-2-Way 4.5" Near Field Studio Monitor (Pair)
$157.99
Check Price → #3
#3
Best Value
PreSonus Eris 3.5 Studio Monitors, Pair — Powered, Active Monitor Speakers for Near Field Music Production, Desktop Computer, Hi-Fi Audio
$114.99
Check Price →⚡ Quick Answer
Choosing the right studio monitors isn’t just about chasing the latest high-profile brands or flashy specs. It’s about finding a speaker that faithfully translates your musical ideas, whether you’re mixing a high-gain guitar track, dialing in drum machine sounds, or editing vocals for a client. Good monitors are the backbone of a professional setup—they reveal every nuance, so you can make informed decisions about your tone and mix balance.
Table of Contents
In 2026, the market’s gotten more competitive, with innovative designs and digital enhancements that blur the line between traditional passive monitors and immersive, calibrated listening experiences. But amidst all the noise, understanding what truly matters—sound quality, accuracy, build, and how they perform in your real-world environment—remains paramount. Let’s cut through the marketing fluff and get to what really matters for gear that elevates your studio work.
Our Top Picks in Detail
Affiliate disclosure: if you buy through these links, we may earn a commission at no extra cost to you.
(2) JBL 305P MkII 5" 2-Way Active Powered Studio Reference Monitors Speakers
$261.0Check Price →This is the pick to look at first if you want a reliable, well-rounded option that handles everyday use without unnecessary compromises. (2) JBL 305P MkII 5" 2-Way Active Powered Studio Reference Monitors Speakers delivers solid performance across the features that matter most in this category.
PreSonus Eris E4.5-2-Way 4.5" Near Field Studio Monitor (Pair)
$157.99Check Price →If the top pick doesn't quite fit your situation, PreSonus Eris E4.5-2-Way 4.5" Near Field Studio Monitor (Pair) is worth a close look as a capable alternative that still covers the essentials well.
PreSonus Eris 3.5 Studio Monitors, Pair — Powered, Active Monitor Speakers for Near Field Music Production, Desktop Computer, Hi-Fi Audio
$114.99Check Price →For buyers who want the most for their money without sacrificing the features that actually matter, PreSonus Eris 3.5 Studio Monitors, Pair — Powered, Active Monitor Speakers for Near Field Music Production, Desktop Computer, Hi-Fi Audio is the practical choice at this price point.
Why Accuracy in Monitors Matters
When you're in the mix, whether balancing a boutique guitar pedal cascade or fine-tuning a bassline, your monitors are the ultimate judge of your sound. A truthful, flat response ensures that what you hear is what your audience will hear—no coloring, no exaggeration. Cheap or overly hyped monitors might flatter your mixes initially but lead to problems down the line when your tracks don’t translate well on other systems.
Think of your monitors as the ultimate reference tool. If a monitor adds bass or sharpens high frequencies artificially, you end up compensating with EQ, which can muddy your mix or make it sound thin elsewhere. Invest in monitors that reveal flaws in your recordings and nuances in your tone—and trust that what you hear is an honest window into your creative work.
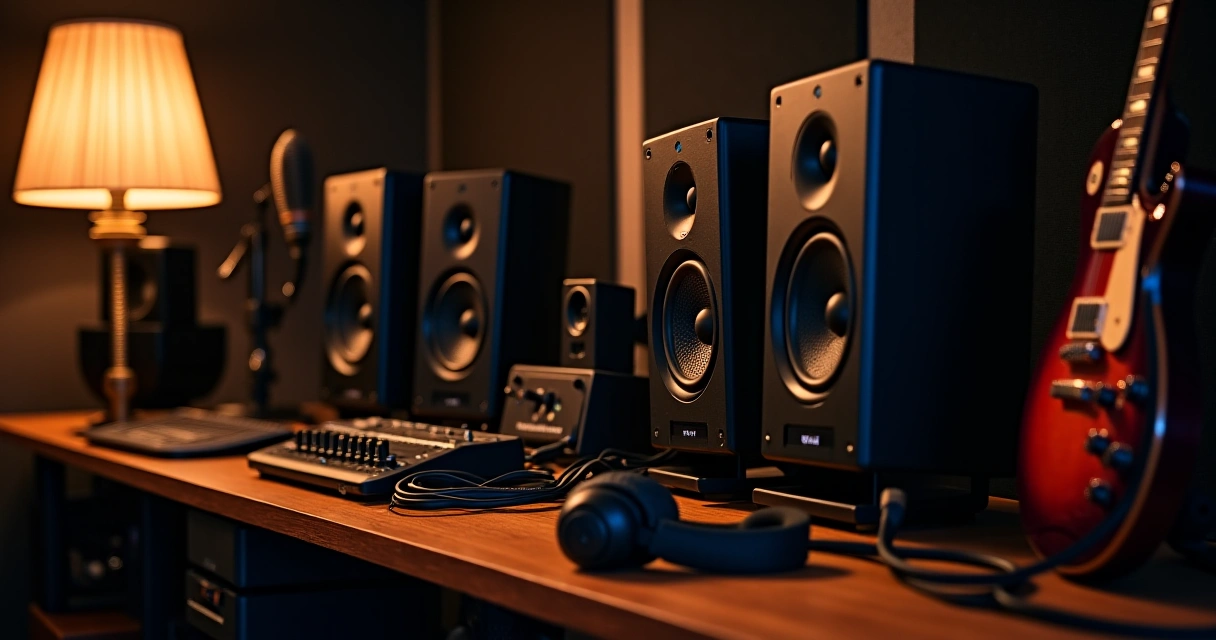
Size & Room Compatibility
The size of your studio monitors greatly influences how well they'll perform in your space. Smaller rooms—think upstairs bedroom setups or home studios—are best served by nearfield monitors between 5” and 7” woofers. These help you avoid overly exaggerated bass that can mess with your mix balance in confined spaces.
In larger, treated rooms, you might look at midfield monitors that provide more authority with tighter bass and a broader sweet spot. Remember, even the most expensive monitor can struggle in an untreated room—acoustic treatment like bass traps or diffusers is often just as vital as gear itself.
Frequency Response & Clarity
Good studio monitors will deliver a flat, wide frequency response, from deep sub-bass up to crisp, detailed highs. When listening to real-world tracks or guitar pedal recordings, clarity at all ranges reveals subtle overtones and resonances that can make or break your tone. Pay close attention to how monitors handle high-frequency extension—harshness or listening fatigue is a red flag.
It’s not just about specs—try them with familiar material. If you notice a monitor "smoothing over" cymbals or muffling the attack on a snare, it may not be the right choice for critical listening. Conversely, monitors that expose every detail, like the subtle distortion from a high-gain amp or the intricate overtones from a synth patch, will give you more confidence in your mixes and tones.
Build Quality & Durability
Long-term reliability matters. High-quality monitors are built with solid cabinets, shielding, and components that resist vibration and electrical noise. Cheaply made monitors often rattle with heavy bass or develop issues over time, which can frustrate your workflow.
Look for monitors with well-damped enclosures, quality drivers, and upgraded connectors. It's worth paying extra for a brand with a reputation for reliability—your investment in them will pay off over years of studio use. Also, consider whether they have features like isolation pads or mounting points that help with placement and minimizing vibration transfer.
Pricing & Value
While it’s tempting to cut corners on monitors, cheap models often lead to more time spent fixing mixes or re-recording elements—not a cost-saving in the long run. That said, high price doesn’t always equate to better performance. Look for monitors that give you the best bang for your buck, with transparent sound, solid build, and features that align with your workflow.
Many mid-range models punch well above their weight, especially recent entries from brands like JBL, Adam Audio, and Presonus. If you’re on a tight budget, don’t shy away from used monitors—just ensure they’re in good condition and haven’t been abused. Try to audition before buying whenever possible.
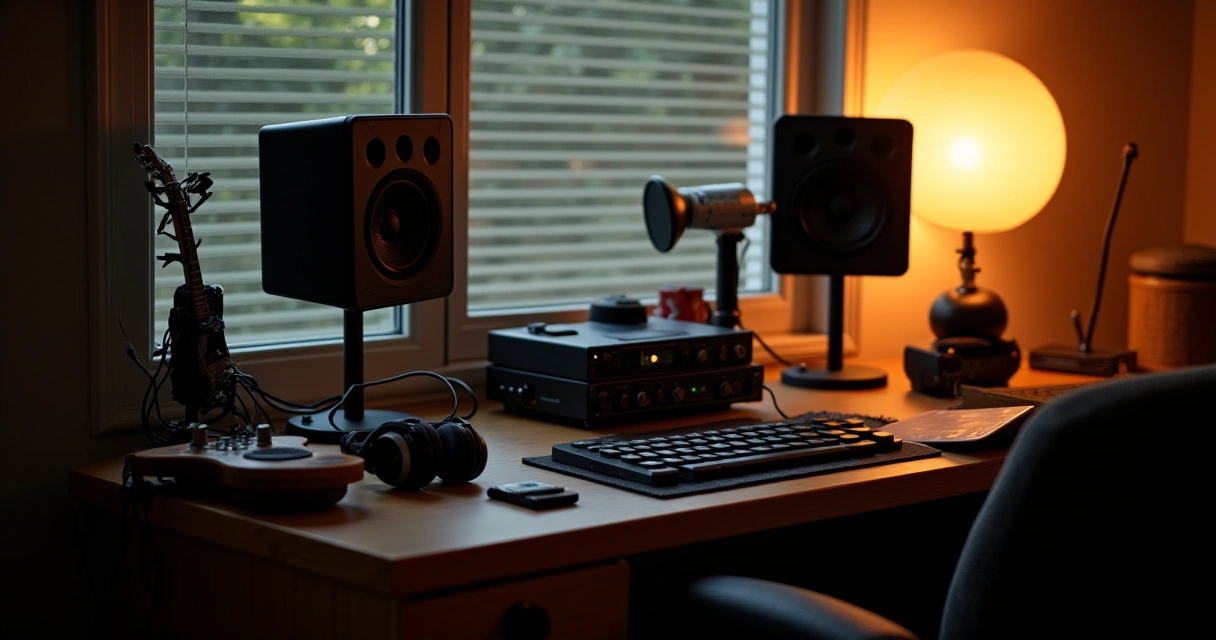
Setting Up Your Monitors
Proper placement is often overlooked but makes a huge difference—if your monitors are not aligned correctly, all your effort goes out the window. Position your monitors so that their tweeters are at ear level and form an equilateral triangle with your listening position. This creates a balanced stereo image and reduces listening fatigue.
Another consideration is reducing reflections—use acoustic panels, stands, or even padded surfaces to minimize early reflections that muddy your soundstage. Also, calibrate your monitors using a measurement microphone and software like Room EQ Wizard to flatten their response and compensate for room effects.
Frequently Asked Questions
Do I need nearfield or midfield monitors?
For most home and project studios, nearfield monitors are sufficient—they’re designed for close listening and minimize room effects. Midfield monitors are better suited for larger spaces or commercial studios where you need a more expansive sound.
Can I use hi-fi speakers as studio monitors?
Generally, no. Hi-fi speakers are tuned for musical pleasure, not accuracy. They might sound appealing but tend to artificially boost certain frequencies, which can mislead your mixing decisions.
Is it better to have a subwoofer with my monitors?
If your monitors can’t reach deep bass accurately or your room is large, adding a subwoofer makes sense. Just remember, proper calibration and placement are crucial—otherwise, you risk muddiness or uneven bass.
How important is room treatment when using studio monitors?
Critical. Even the best monitors will struggle in untreated rooms. Acoustic treatment helps control reflections, standing waves, and low-end buildup, giving you a truer representation of your mix and tone.
Can I trust online reviews when choosing monitors?
Reviews are helpful but subjective. Always audition monitors in your space if possible. Listening yourself—and trusting your ears—is the only way to know if a pair will serve your specific needs.
In conclusion, selecting the right studio monitors in 2026 demands a mix of technical understanding and practical auditioning. Focus on accuracy, room compatibility, build quality, and your workflow needs—trust your ears above all. Once you’ve got them dialed in, you’ll find your musical and mixing instincts sharpened, opening up new creative horizons.
Next step? Hit your local shop, bring your favorite reference tracks, and audition with clarity. Remember: great gear is just part of your workflow—knowing how to set it up and interpret what you hear is what makes you a better musician and producer.