How to Set Up a Home Recording Studio for Summer Music Projects on a Budget in 2026
Summer’s the perfect time to finally lay down those tracks, experiment with new sounds, or polish your production skills—all without draining your wallet. Whether you're a bedroom guitar shredder or a solo artist ready to produce professional-sounding tracks, setting up a functional home studio in 2026 doesn’t mean breaking the bank. It's about smart choices: prioritizing gear that genuinely transforms your sound and workflow. Let’s get tactical—because the right gear in the right place can turn your space into a real music haven.
Table of Contents
In this guide, I’ll walk you through the essentials of building a home studio on a budget, focusing on gear you actually need and how to get the most out of it. From choosing studio monitors that translate well, to dialing in your microphones and pedals, this isn’t just theory—these tips are straight from my sessions with pros and amateurs alike.
Optimizing Your Listening Environment
Your studio's acoustic space is the foundation for everything. Before tweaking gear, focus on making your room as neutral as possible. Use inexpensive foam panels, DIY bass traps, and placement tricks—placing your monitors along the shortest wall can reduce standing waves and improve imaging. Invest in sturdy stands and keep gear at ear level for accurate monitoring.
Don’t forget the importance of some room treatment—bad rooms make good gear sound terrible. Focus on reducing reflections and controlling bass buildup, which can make your mixes muddy. It’s tempting to go full-treatment right away, but start small: a couple of foam tiles, a bass trap in the corners, and some heavy curtains can make a noticeable difference.
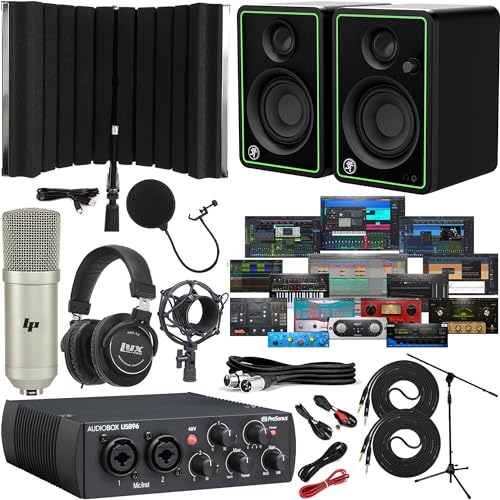
Selecting the Right Studio Monitors
When you’re on a budget, don’t settle for cheap speakers that hype mid-range to mask flaws. Look for studio monitors with flat frequency response; brands like Kali Audio, Apollo, or Yamaha’s HS series offer incredible bang for buck. Monitors should translate well—meaning your mixes sound balanced whether played on high-end or consumer gear. Think about size too: 5" monitors are great for smaller rooms and provide tight bass, while 6-8" woofers add depth if your space supports it.
Placement is critical: place them 2-3 feet apart, at ear height, and form an equilateral triangle with your listening position. Don’t skimp on decent cables—cheap ones can introduce noise or coloration. Run your monitors straight from your audio interface using quality balanced TRS or XLR cables.
Microphones and Vocal/Instrument Capture
A versatile condenser microphone is a must for capturing vocals and acoustic guitars. Affordable options like the Audio-Technica AT4040 or Rode NT1-A produce open, detailed sound that’s honest without sounding harsh. For louder sources—electric guitar, bass, or drum overheads—dynamic mics like the Shure SM57 or SM58 excel, especially in less-than-perfect rooms.
Placement is key: close mics for punch and clarity, distant mics for ambiance. Use a pop filter for vocals and experiment with mic angles to find that sweet spot. Don’t overlook the importance of high-quality preamps—your audio interface preamp will influence tone, so choose one with clean gain and warmth.
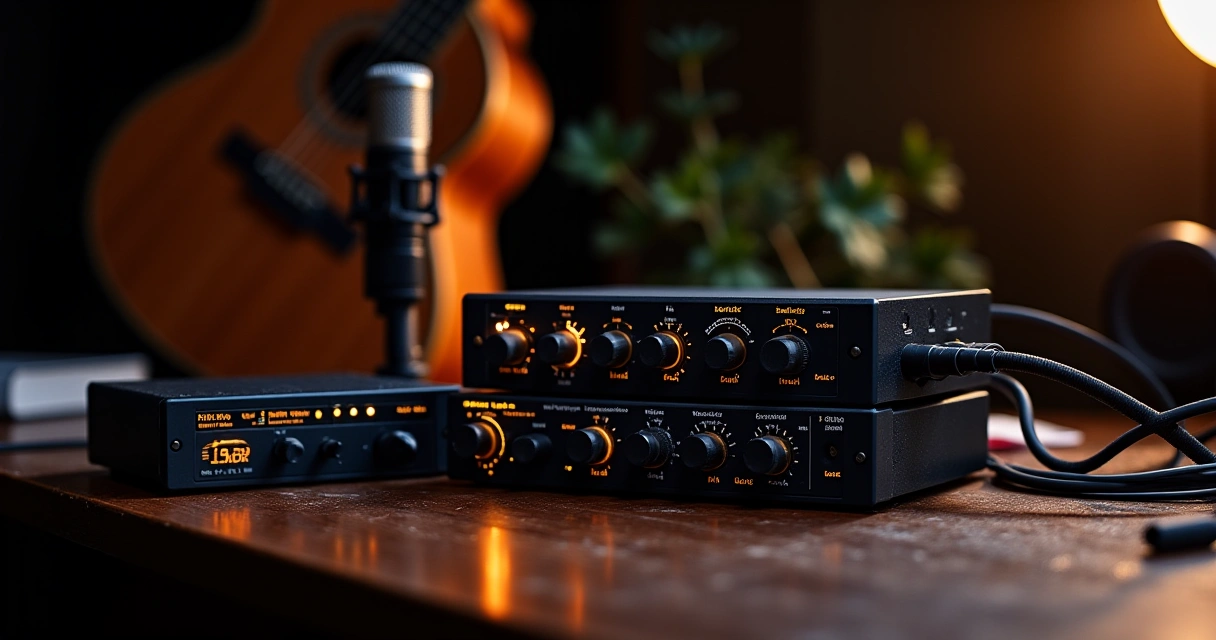
Guitar Pedals and Amp Setup
Pedals are your tone-shaping secret weapon, but they’re only as good as they feel and how they integrate into your signal chain. Start with one or two versatile pedals—like a transparent overdrive and a modulation effect—and learn their quirks. Budget pedals from Keeley, JHS, or Mooer often punch well above their weight. Use a dedicated pedalboard or a simple cable patch—nothing kills inspiration faster than complicated wire juggling during a session.
When working with amps, consider modeling amps or good used tube combos. A simple clean amp with pedals offers more tonal flexibility and easier recall. If microphone placement onto your amp is your setup’s centerpiece, aim for that sweet spot near the speaker cone—about 1-3 inches away from the grille. Experiment with angles for more or less bite and depth.
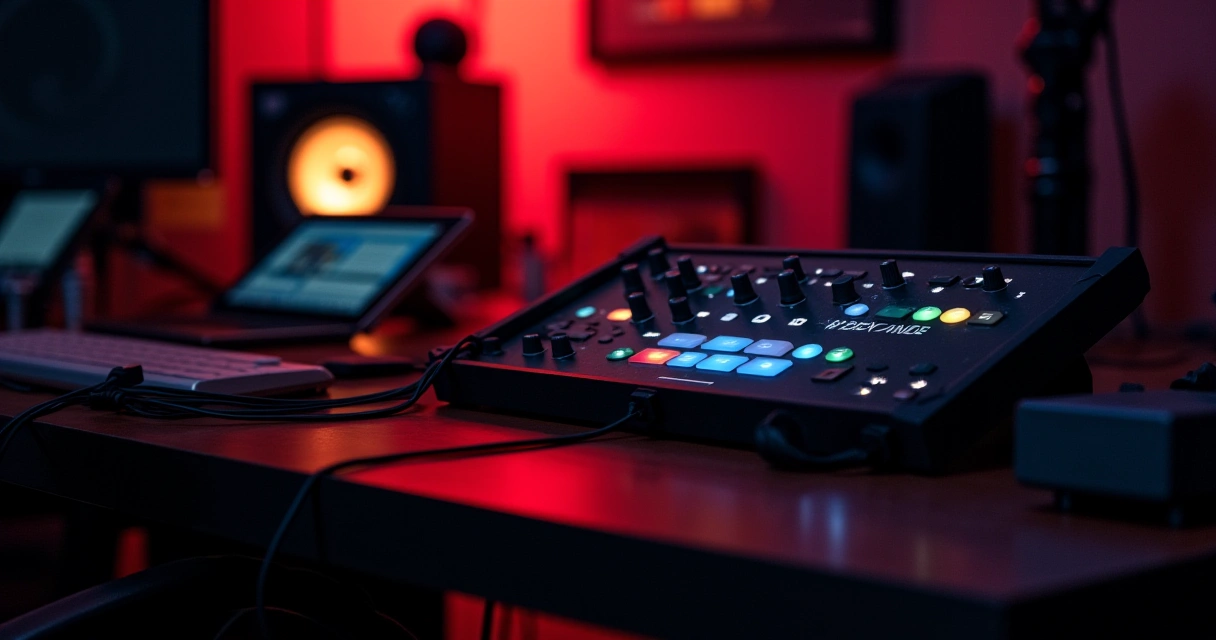
MIDI Controllers and Synth Options
Controlling virtual instruments and DAWs with a MIDI controller doesn’t have to break the bank. Compact keyboards with velocity sensitivity, like the Akai MPK Mini or M-Audio Keystation, are perfect for programming synths or triggering drum samples. Use pad controllers for beats—especially with drum machines like the Roland TR-6S or affordable VSTs like MIDI Grid.
When it comes to synths, options like Korg Minilogue or Behringer Model D are amazing budget contenders that deliver real analog vibe or high-quality digital tones. Get familiar with mapping assignable knobs to tweak your sound on the fly—this makes your sessions more dynamic and less tedious.
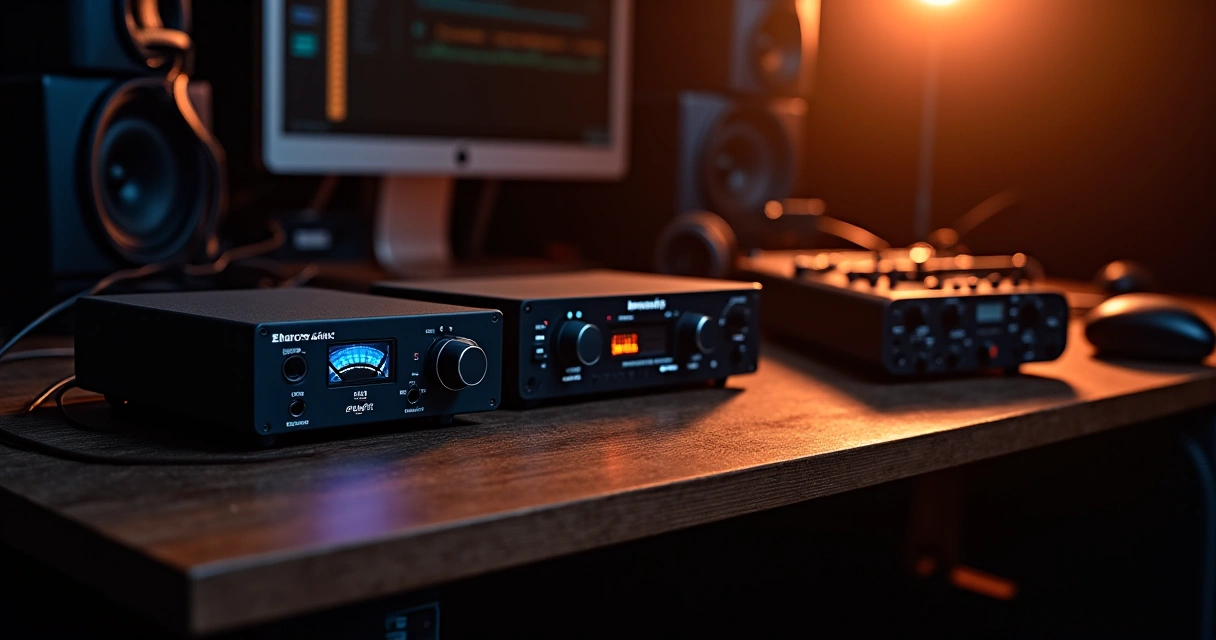
Audio Interfaces and Connectivity Hacks
The heart of your setup is your audio interface. Today’s budget models, like the Focusrite Scarlett series or PreSonus AudioBox, offer pristine AD/DA conversion with enough inputs for guitars, mics, and MIDI. Prioritize interfaces with direct monitoring—so you can hear your input cleanly without latency. Use TRS, XLR, and simple inserts to keep signals flowing smoothly.
If working with limited space, consider a rackmount interface or a combined USB-C hub that streamlines your connections. Good quality cables, power conditioners, and organizing your wires help prevent noise and frustration—seriously, tidy cables sound better and keep you inspired.
Mixing and Production Tips on a Budget
You don’t need fancy plug-ins to craft professional mixes. Focus on start-to-finish techniques: carve out space with EQ, add depth with reverb, and get your levels right before squashing everything with comps. Use free or affordable VSTs—especially synths, reverbs, and saturation plugins—that sound great and inspire creativity.
Reference your mixes on different speakers, headphones, and even your smartphone to ensure consistency. Trust your ears: if it sounds balanced and punchy in your space, chances are it will translate well elsewhere. Remember, the feel and tone you capture depend heavily on good mic placement, player performance, and your room's acoustics—gear is just a tool to serve your performance.
Frequently Asked Questions
Can I really produce professional-sounding music with budget gear?
Absolutely. While high-end gear offers certain advantages, many hit records were made with affordable gear. Focus on technique, room treatment, and your ears—your skill makes all the difference.
How do I improve my room acoustics without spending a lot?
Use DIY solutions like thick blankets, heavy curtains, and DIY bass traps made from insulation and wood. Proper placement of furniture and monitors can also make a big difference.
What’s the best way to connect pedals into my recording chain?
Place pedals between your guitar and amp or interface input, and use high-quality patch cables. Consider a dedicated pedalboard for quick setups and consistency.
How can I get a good vocal recording at home?
Use a decent condenser mic with a pop filter, record in a quiet, treated room, and monitor through good studio headphones. Practice mic placement to minimize noise and sibilance.
Are modeling amps worth it for recording on a budget?
Yes, especially if you want many tones without buying multiple amps. They’re versatile, space-saving, and sound great when miked properly or run directly into your interface.
What’s the secret to a tight mix on inexpensive monitors?
Trust your ears, use reference tracks, and focus on balancing and EQ. Don’t over-rely on the monitors’ “flatness”—learn their character and compensate accordingly.
Conclusion
Building a summer-ready home recording studio on a budget is entirely doable with focus, smart choices, and patience. Prioritize your room, pick versatile gear that feels good, and master your technique. Remember, the art of music production isn’t about having the most expensive gear—it’s about how you use what you’ve got to get the tone and feel you’re after. Now’s the time to set your space, hit record, and make some magic happen. Next step? Start with a plan: clean up your space, pick your core gear, and schedule your first tracking session. Let’s get to work!